One of the most visible, and perhaps even iconic, features of a super energy-efficient home is the heat recovery ventilator (HRV). These devices remove stale air from the home and replace it with pre-heated fresh air from outside. The result is better indoor air quality and lower energy use than in standard homes. The HRV itself is fairly simple: an airtight box with a heat exchange core that transfers heat from the indoor air to outside air as it passes through the box. The box also contains two small fans to move the air. All the points below apply equally to HRVs and their close cousins, energy recovery ventilators (ERVs). This is the first of a two-part series on HRVs based on training developed by Bruce Manclark and Dan Wildenhaus of CLEAResult. Part 2 covers integrating HRVs with forced air heating and cooling systems.
Benefits of HRVs
Ventilation is essential in all modern homes. When homes are built with energy efficiency in mind, they are more tightly air sealed than the average building and therefore need fresh air distributed through the entire home. A central ventilation system exhausts stale indoor air from high-moisture air areas, such as bathrooms and kitchens while simultaneously supplying fresh air to living areas and bedrooms. Central ventilation also offers the option of filtering the outside air to remove particulates, allergens and chemical pollutants. The result is well-distributed, fresh, clean air.
All homes pay a ventilation penalty, because air that sneaks in through cracks and openings must be heated or cooled. Very airtight construction combined with central ventilation systems offers the opportunity to preheat incoming air by transferring warmth from the stream of outgoing air. A heat exchanger can capture between 70% and 95% of that heat to reduce the energy needed to heat incoming air – something that is especially valuable in colder climates.
Heat Recovery Ventilators: 6 Steps to Success
While HRV equipment is well-design and durable, the technology has been plagued by poor installation practices that reduce their value. “In all my many years in the HVAC industry,” says Manclark. “I have never seen anything screwed up as much as HRVs.” Here are the six steps to success for selecting and installing HRVs.
1) Calculate Required Air Flow
The amount of fresh air flow for any type of ventilation system is calculated according to a national standard known as ASHRAE 62.2 – 2016*, which takes into account both the number of occupants and the conditioned floor area of the home. The simple equation goes like this:
occupants x 7.5 + square feet of conditioned floor area x 0.03 = ventilation rate in cfm
So, four people living in a 2,000-square-foot, 3-bedroom home would need a continuous air flow of
(4 x 7.5) + (2000 x 0.03) = 90 cfm
This formula will get you close enough, but if you want to be even more precise, there is a sophisticated online calculator that allows detailed inputs for more exact results.
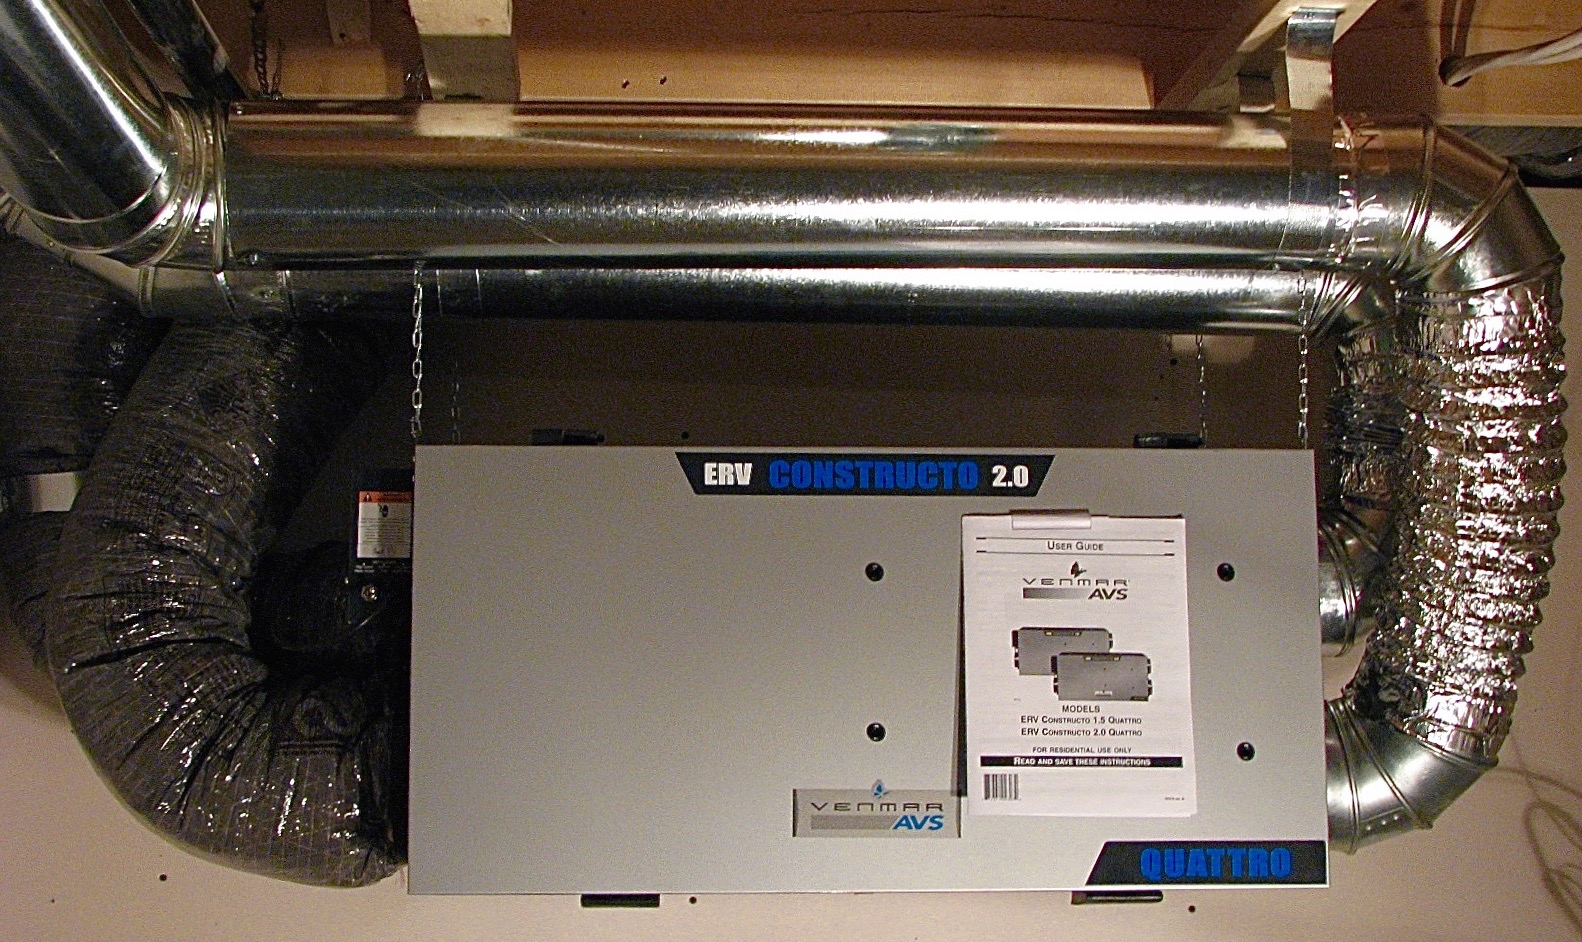
2) Select Efficient Equipment
HRVs have internal fans that run many hours a day and sometimes continuously. You should choose a model that provides the necessary air flow while sipping as little energy as possible. HRVs should be tested and certified by the Heating and Ventilating Institute. Most manufacturers show these testing results in their product literature. A great way to compare products is the online version of HVI’s Certified Products Directory.
To choose an efficient model, first find the sensible recovery efficiency (SRE) column in the HVI directory. This shows how efficiently the unit transfers heat between air streams. Look for an SRE of at least 80%. This value is clearly shown in the database. Next, you’ll need to calculate how efficiently the unit moves air. This is called efficacy and is expressed as cfm per watt. While this number does not appear in the database, you can easily calculate it by dividing Net Airflow (cfm) by the Power Consumed (watts). You want the efficacy to be at least 1.25 cfm per watt.
3) Locate Exhaust Points
Since the idea is to remove humid, odiferous air from the house, locate the stale air exhaust points in each bathroom, kitchen, utility room, and other high moisture areas. This allows heat recovery from areas of the home where humidity and odors are most abundant. The HRV can replace spot ventilation (exhaust) fans in these rooms to save money and provide a more pleasant environment. If homeowners are fond of a steamy shower, but averse to a foggy mirror, a standard bath fan can be installed to supplement the HRV.
An exhaust point located near the kitchen area should be at least six feet from the cooking surface. This exhaust point is intended to remove general moisture and cooking odors. While HRVs are not intended to entirely replace the range hood, in some applications, with an HRV in the kitchen, it may be possible to eliminate the external venting on a range hood and operate it in recirculation mode only. As with bathroom spot ventilation, occupant habits may dictate a standard range hood in the kitchen to expel moisture and odors.
4) Locate Fresh Air Supply Points
In order to mix fresh air throughout the house, supply points should be positioned a considerable distance from the exhaust points. Bedrooms and living rooms are good choices. Even though incoming fresh air has been tempered by the heat exchanger, it’s usually slightly below room temperature, so take care not to make occupants uncomfortable by blowing that air directly onto them. Place the incoming vents high on a wall, so it will mix with warm air and not be noticed. In a bedroom, introducing fresh air into a closet allows gentle mixing with room air. Plus, it has the added benefit of helping keep the clothes smelling fresh and clean!
5) Create a Dedicated Duct System
Most experts agree that it’s best for an HRV to have its own dedicated duct system. If the home has hydronic heat or ductless heat pumps, that’s the only choice. In this case, the HRV mixes the air throughout the house. However, homes with forced air heating and cooling systems can use those ducts. This saves money on material and labor and offers great distribution of fresh air. Integrating HRVs with forced air systems requires careful planning, proper controls and sound installation practices. Manclark covers these issues in detail in part 2 of our series: Integrating Heat Recovery Ventilators with Residential Air Handlers.
6) Choose Either an HRV or ERV
The information above applies to both HRVs and ERVs, which may perform equally well in most climate zones. But what is the difference between a heat recovery ventilator (HRV) and and energy recovery ventilator (ERV)? The main difference is that an HRV transfers only the temperature of air between the outgoing and incoming air streams. Engineers call this sensible heat. It’s the heat you feel directly as a change in air temperature. But air always contains some water vapor and that vapor also holds energy. ERVs transfer sensible heat plus a substantial amount of water vapor between the incoming and outgoing air streams along with the energy in that vapor, a property called enthalpy. Because ERVs capture this additional form of energy, their efficiency ratings are generally higher than HRVs.
But wait! Isn’t the purpose of ventilation to remove humidity from a home? Why have a device that returns some of the water vapor? Some climates are very dry and will benefit from this feature of an ERV. This can be useful in many inland areas of the American West. In the American Southeast, the situation is reversed, but an ERV is still appropriate. Here, the indoor air has been dehumidified, so ventilation would introduce outside air with a much higher relative humidity. In this case, the ERV expels the humidity back to the outside and helps maintain a lower indoor humidity.
These two examples may seem contradictory. In one case, humidity is maintained inside the home and, in the other case, humidity is expelled. However, in both cases, the water vapor jumps across the core, from the more humid air stream to the less humid air stream and returns to where it came from originally. Consistent with basic physics, the water vapor moves from a higher concentration to a lower concentration.
If you follow these six steps to selecting the right equipment, you’ll be on the right track to achieving better indoor air quality and greater energy efficiency. For more details see the HRV System Best Practices Poster at BetterBuiltNW.com.
*An updated reference to the new ASHRAE 62.2 2016 was added here on 3/30/2020.

Dennis Miller says:
I’m just a DIY homeowner so not an expert at ventilation. But I’m pretty good at math and noticed that the formula in Step 1 is incorrect. In the example the conclusion is that 60 cfm is required. However to get this number you would need to multiply the square footage by 0.01 and not 0.1 as shown.
Secondly looks like it’s time for an update to the formula. I don’t know if 2016 is the latest update to ASHRAE 62.2 but it supersedes the 2010 version and calls for 3 cfm per 100 sqft. In other words, multiply square footage by 0.03 rather than 0.01 in Step 1. And based on my information, instead of (7.5 times the number of occupants) the 2016 version uses (7.5 times (# of bedrooms + 1)). Summarizing, the 2016 formula is therefore…
cfm = (0.03 x square footage) + (7.5 x number of bedrooms + 1)
Bruce Sullivan says:
Thanks for alerting us to the more current standard. I’ve changed the formula to reflect this.
Akansha says:
Your blogs is interesting and informative. I hope you keep uploading more blogs.